

How Much Ford Focus 2014 Busted Tail.light Repair
How to Replace a Cleaved Brake Light
Got a brake light that's not working? In less time than it takes to drive to the motorcar repair store, you lot tin fix that light yourself.
Introduction
Somewhen, all calorie-free bulbs burn out, and this applies to exterior lights on your vehicle, too. Changing a faulty brake calorie-free is something anyone can larn to do. A replacement bulb costs nearly $10, and replacing it on your ain volition save well-nigh $xx in labor and the time it takes to travel to the shop and wait for the work to be done.
Tools Required
Materials Required
- Restriction lightbulb
Project pace-by-step (4)
Step 1
Place the Faulty Light
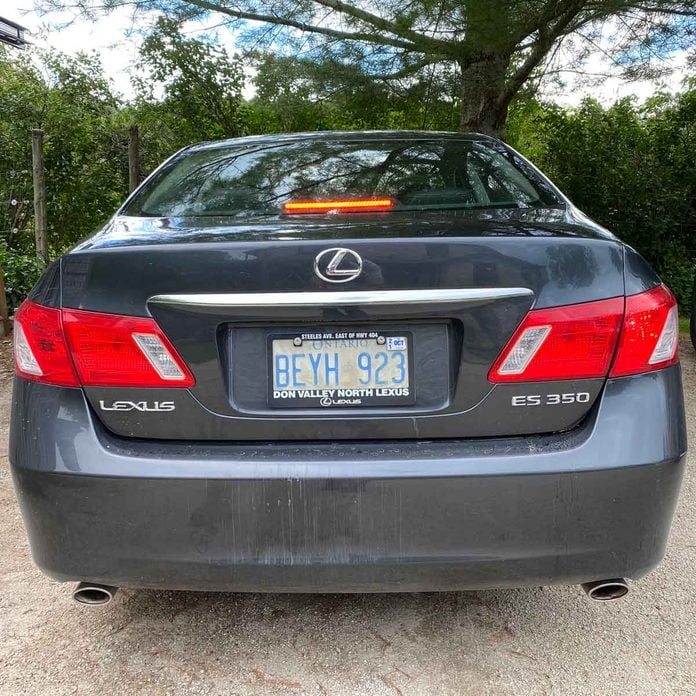
There are usually several lightbulbs underneath each tail light lens, and one of these bulbs is the brake light.
- Have someone sit down in the vehicle, pressing and releasing the brake pedal several times while you stand up behind the vehicle and check brake lite operation.
- Identify which bulb nether the taillight lens cover is the burned out brake calorie-free. There may be several bulbs under each lens, but just 1 is the restriction lightbulb. Identifying where the brake lightbulb sits in under the lens may assist you subsequently when you're searching for the correct replacement bulb.
Footstep 2
Find and Remove the Restriction Lightbulb
Well-nigh modern vehicles permit admission to all tail lite bulbs from inside the body.
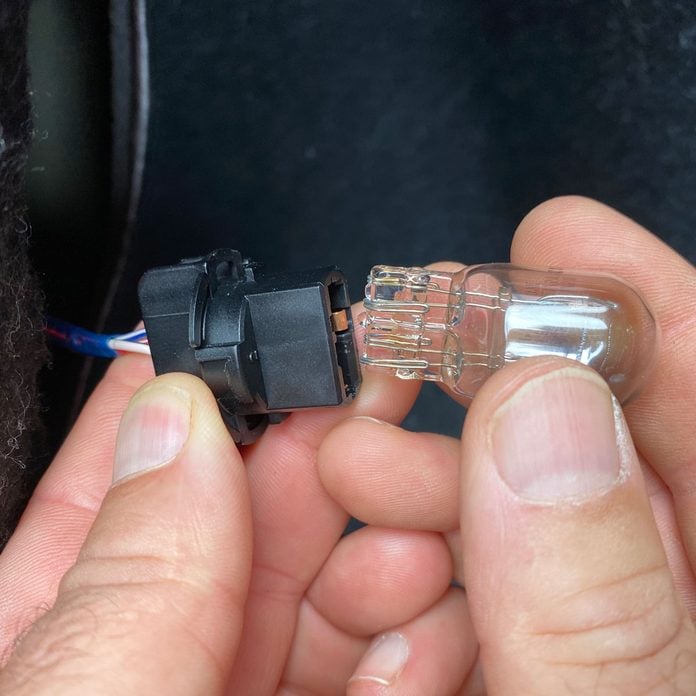
- Open the trunk and look directly backside the tail lite lens with the malfunctioning bulb. You'll run across the wires and a plastic base where each tail light bulb is located.
- Use your caput lamp or flashlight to decide which bulb in the housing is the brake light.
- Turn the brake low-cal holder counterclockwise to release it, so pull the bulb holder and bulb into the trunk.
- Remove the bulb from the holder.
![]()
Footstep 3
Acquire New Brake Lightbulb
You don't necessarily need to bring the burned out brake lightbulb with yous when you lot shop, but having it in hand helps you make sure you lot're getting the correct replacement seedling.
- Visit an online supplier and search for the correct brake lightbulb for your make and model of vehicle. Amazon offers a wide variety of automotive bulbs and the opportunity to input your vehicle details to verify that the bulb will fit.
- Alternatively, visit an machine parts supplier with your erstwhile seedling in hand.
- Consider ownership 2 bulbs and keep a spare in your glove compartment. If 1 brake light has burned out, the other will probably go before long.
Step 4
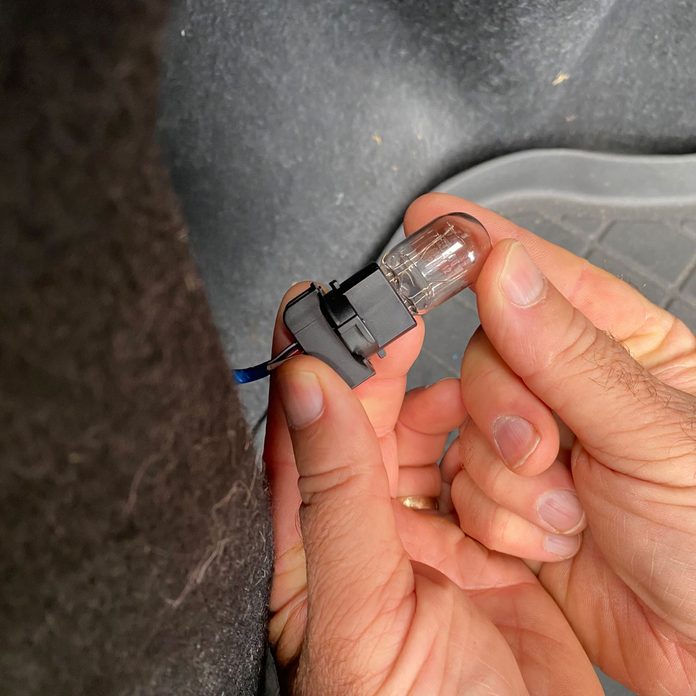
Install and Exam the New Bulb
- Insert the new bulb into the holder.
- Button the holder and bulb into the tail calorie-free assembly and rotate the holder clockwise to lock it in place.
- Bank check that the bulb and holder are solidly engaged in the tail light assembly.
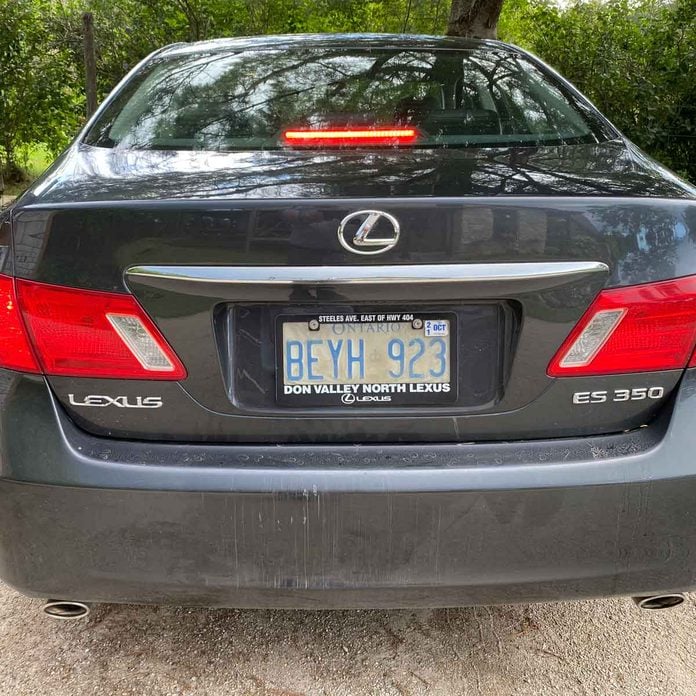
- Have someone sit down in the commuter'southward seat and work the restriction pedal while you lot check light operation from behind.
Originally Published: August 25, 2022

How Much Ford Focus 2014 Busted Tail.light Repair,
Source: https://www.familyhandyman.com/project/how-to-replace-a-broken-brake-light/
Posted by: dalemeleat.blogspot.com
0 Response to "How Much Ford Focus 2014 Busted Tail.light Repair"
Post a Comment